Wednesday, May 21, 2014

Teacher Appreciation Week & Pusheen the Cat


Hi all!

Sorry I've been gone soooooooooo long! But hey, don't worry! I'm now on summer break and as free as a bird! Now I can post AS MUCH AS I WANT ( probably on Saturday nights, so look for my posts then)!! Now, I know that most people are STILL in school, and you might not have a teacher gift yet. Well, here's a great craft ( and cheap) craft that just involves some apples and paper.


Cute, aren’t they? And pretty easy to make too! This is what you'll need:

  • Apples ( With Stems)
  • Green Paper
  • Hole Puncher
  • A Cute Note
  • String
Now, measure the note you want to put on the leaf; this is crucial cause you want the leaf to bigger than the note. Now, cut out your desired leaf and refer back to the measurements of note often. Glue note onto the leaf. Hole-punch the leaf,tie string around note and stem, and viola! Teacher gift done!

Any who, I was surfing the internet ( Illegally, may I just say. I was supposed to be working on a rough draft. I'm such a rebel.) and came across Pusheen the Cat. Cue the pics!!


And my favourite...


 HAHAHA! I think I'm addicted.


Bye all! And...


Sunday, April 13, 2014

Yay! Easter!

Hello friends!


Can you believe it? It's almost Easter! This saturday my church had our annual Easter egg hunt, and...it was awesome. I highly recommend doing a Easter egg hunt, whether at your local church or in your own backyard.

Here are some picturesque places  to hide your eggs.


Trees are a great place to hide your eggs, BTW. Anyway, your probably wondering where my craft is. And... I don’t have one. I (graciously) decided to give you a break. Just enjoy the pics!!!!


Farewell!

Saturday, March 22, 2014

Homemade Pizza

Hello All~

Pizza is definitely one of the best loved foods in the galaxy, and will probably stay that way for many centuries; no matter what the quote "All good things must come to a end" says.

This is my mom's home-made recipe for pizza that I absolutely LOVE.


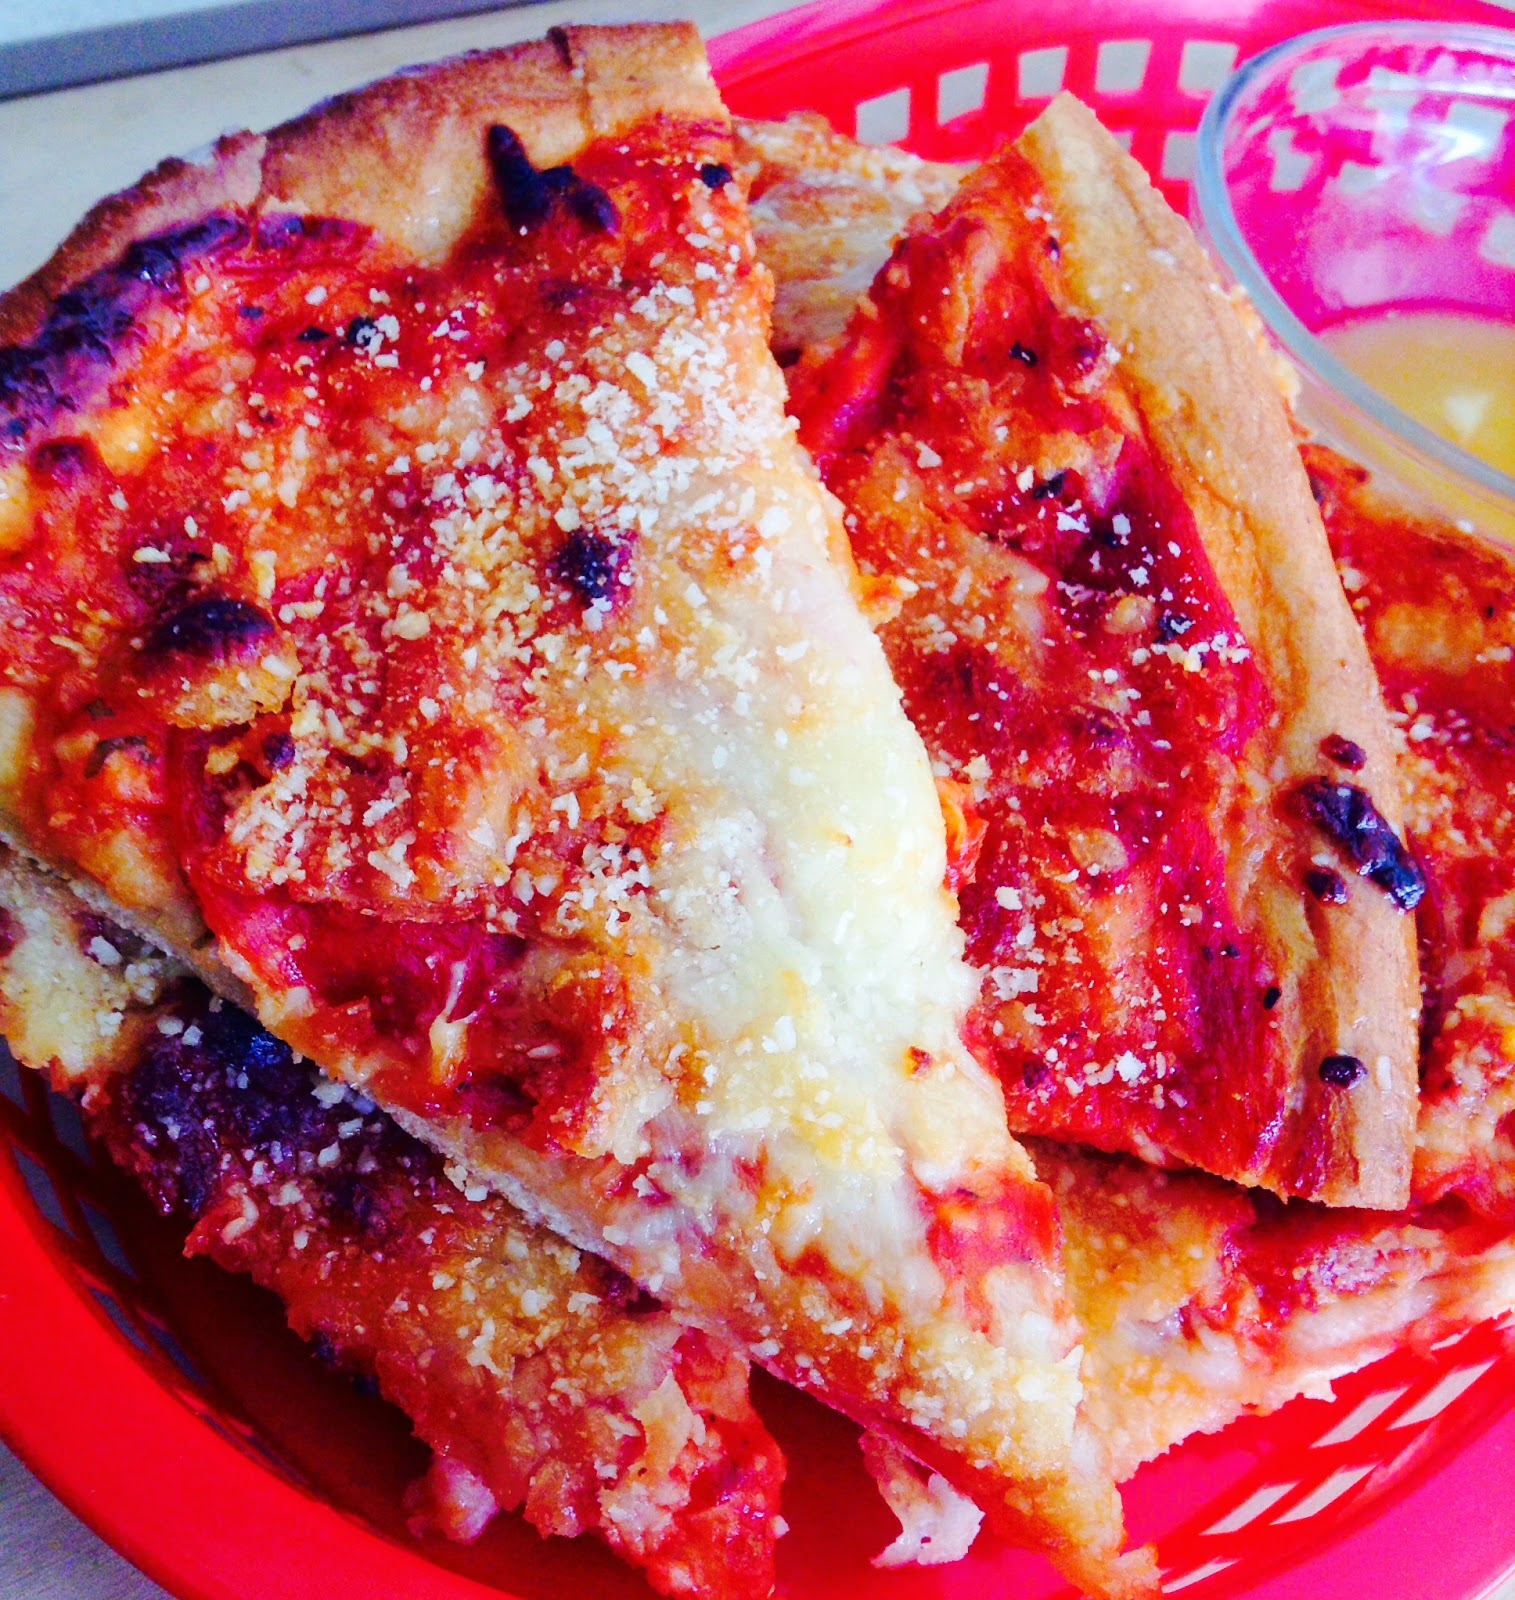
Yummy, huh?


Let's bake!


~Ingredients~


  • 1-3/4 to 2-1/4 cups all-purpose flour
  • 1 envelope ( peferably's Fleischmann's® Pizza Crust ) Yeast
  • 1-1/2 teaspoons sugar
  • 3/4 teaspoon salt
  • 2/3 cup very warm water (120 to 130°F)*
  • 3 tablespoons oil
  • 1/2 to 1 cup pizza sauce   
  •   Bacon and Pepperonis (Other toppings as desired)
  • 1 to 2 cups of shredded mozzarella cheese 
  • Parmesan cheese
  •  Garlic Powder
  •  Butter

~Pizza Dough~


First, combine 1 cup flour, undissolved yeast, sugar and salt in a large bowl.  Add very warm water and oil; mix until well blended, about 1 minute. Gradually add enough remaining flour to make a soft dough.  Dough should form a ball and will be slightly sticky. Knead on a floured surface, adding additional flour if necessary, until smooth and elastic, about 4 minutes.

~Making the pizza~

Pat dough with floured hands to fill greased pizza pan or baking sheet, or roll dough on a floured counter to 12-inch circle; place in greased pizza pan or baking sheet.  Form a rim by pinching the edge of the dough.

If you want, put the cheese on first ( Trust me), then the sauce, then your desired toppings,then more cheese.

~Cooking~

Bake on lowest oven rack for 12 to 15 minutes, until cheese is bubbly and crust is browned.

~Garlic Sauce~

The garlic sauce is very simple. Put butter and garlic powder in a microwave-safe bowl and heat it up for 10 seconds or less. Add more garlic or butter if needed.

 ~Dressing & Eating~

Take the pizza out of the oven. Sprinkle parmesan on the pizza and brush             ( a new paintbrush will do the job) the garlic sauce on the crust. Save some of the garlic sauce to dip if desired.


Eat and Enjoy :)


Please leave comments; if you have a recipe you would like to share, please, share it! 


Toodles!


Tuesday, March 11, 2014

The Dream Jar

Welcome~

Sorry I have been gone soooooooo long! I had all these tests, then I got addicted to DrawQuest, and.....well, yah. Now, enough with the excuses. Let's craft!

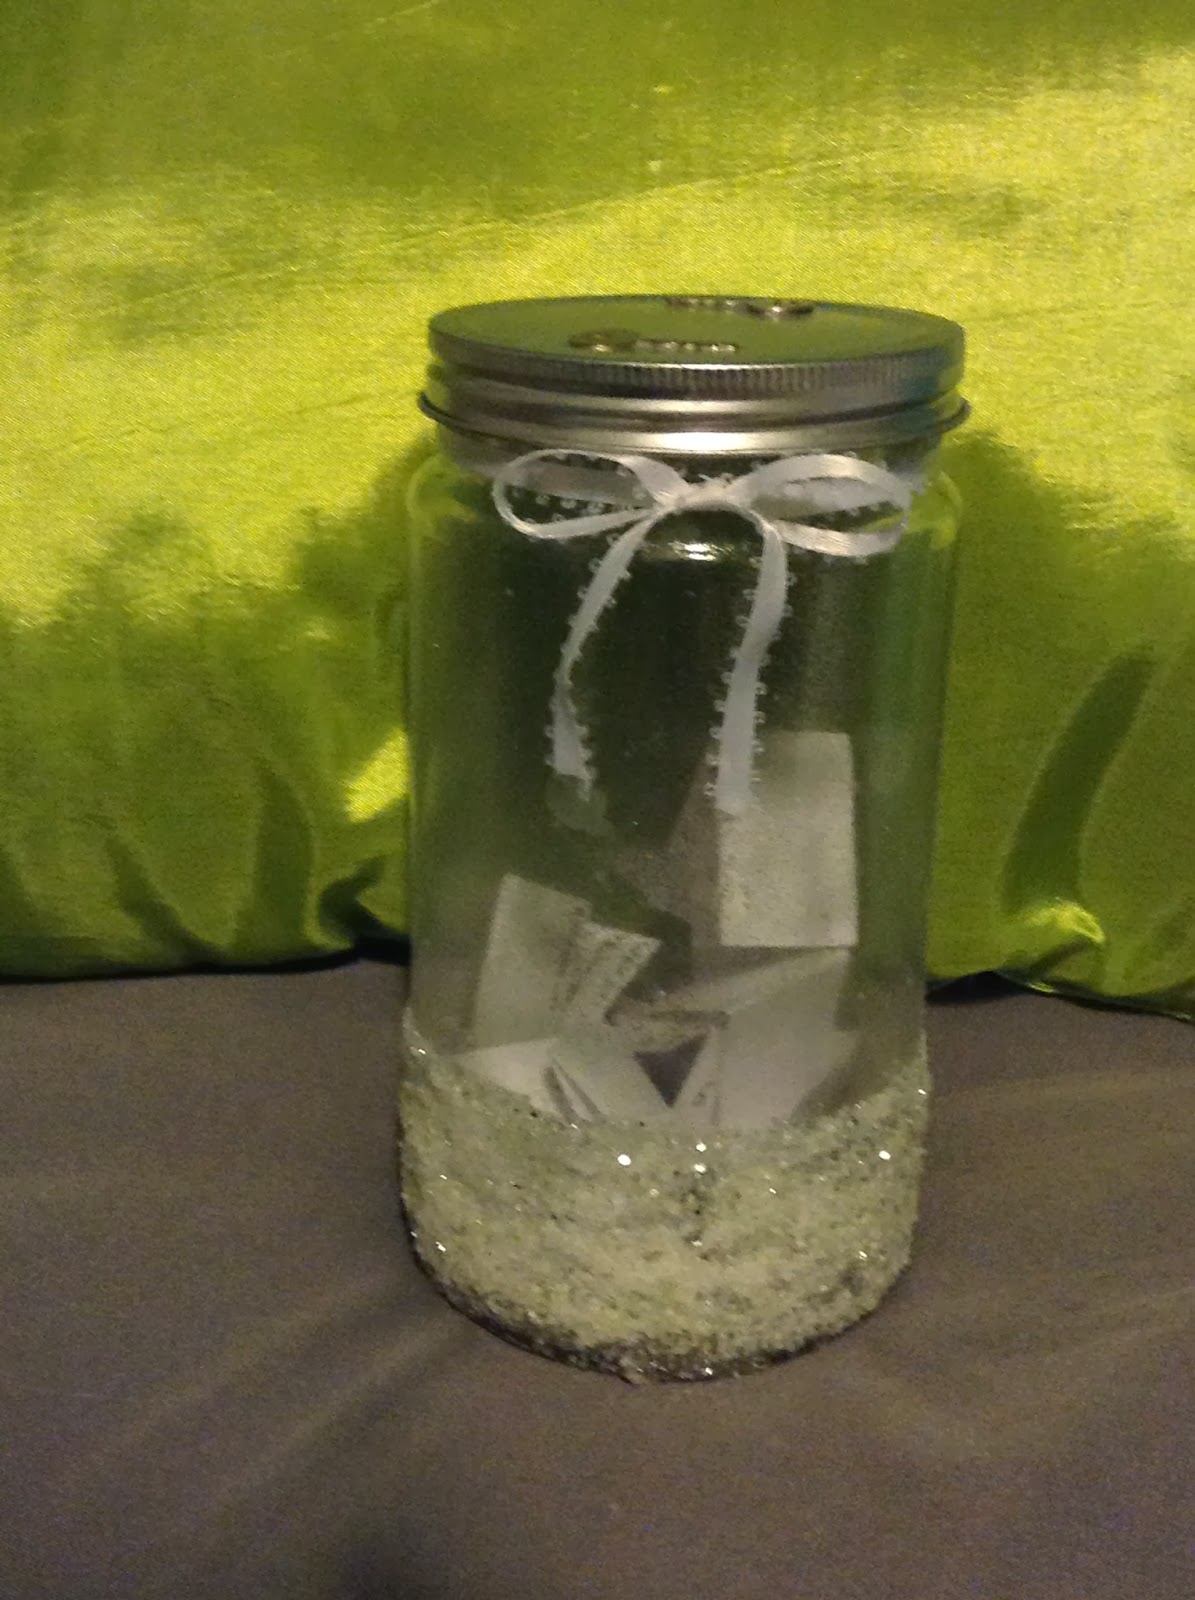
Today we shall learn to make a dream jar.


This is what you'll need:

  • Glitter spray
  • Keys (Tiny Ones)
  • Metallic Spray Paint
  • Ribbon of your choice
  • Hot Glue, modge podge, and regular glue
  • Glitter of your choice
  • A Jar!

First, take your jar (without the lid) and glitter spray it on the inside and outside in an even coat. Don't forget to lay out some cardboard so your furniture won't become glittery! (Trust me, it's not as glamorous as it might seem) 

Now, at the bottom of the jar, make a mark around the jar with a marker where you want your glitter to be. Once that is done, use regular glue to cover every inch of space below and on the mark line. (see first pic if still confused) Now, sprinkle the glitter on the glue. Repeat as necessary. Use the modge podge on the glitter once the glue is dry. The modge podge will make sure glitter won't sprinkle down and make a mess later on.

Now, take the lid and glue your keys on it with the hot glue. Once that is dry, you are free to spray paint the lid, making sure the keys are sprayed too.

The last step is here!! Take the ribbon and tie it into a bow on the jar, also making sure the ribbon won't get in the way of taking off the lid. Glue the bow if necessary.


You can use the dream jars to put your (duh) dreams in it! Just make sure the jar is in a secret place...like where you keep your secret stash of candy!


Goodbye, All! 

And I solemnly swear I’ll blog more often

Monday, February 17, 2014

T-Rexes & Other Stuff

Hello <3


Funny Post Day! Yay!


So please,


Everybody does deserve one.


I wuv T-Rexs... i mean...not like the ones in Jurassic Park, but  the cute ones.

Like these!!!


Ok. That is all...bye

(awkward goodbye)

Thursday, February 13, 2014

Valentine cards


Hola~

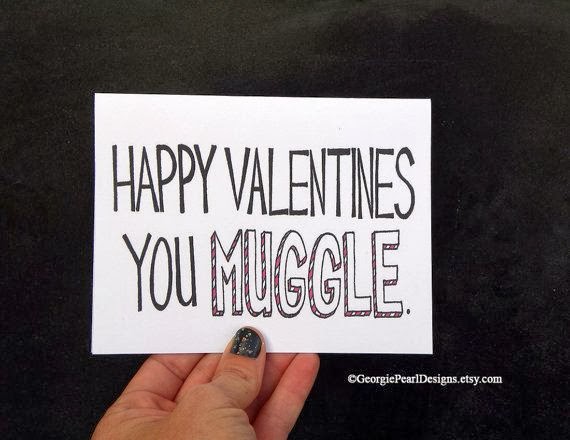
Tomorrow's Valentine's Day! Have you made a card yet for that special someone/ friend, hmmmmmm? Don't worry, here are some cute cards you can make!

 ~Computer & Printer Cards~


This what the cards say:

I'd Kill
to be with 
You

When
You're
not with me
A Pain
runs through my heart

I'd
go to 
Hades
and back to be with you

I
Hate
when
you
aren’t here with me

Valentine Day
Sucks
If I can't be with you


These are pretty easy to make, just type these up using different fonts and sizes at the bottom of the page, then fold it in half.


~For those fans~


These are really easy to draw, so draw them! Draw ALL of them!


~Here are some you can draw~


~If you have a rock~

This is my PERSONAL favourite, but you can only do it if you have a rock, and I mean a special rock. Here what it'll look like:


Isn’t that cute? Ok, I'm done. Happy Valentine's day!!!

Goodbye

Friday, February 7, 2014

Popsicle Stick Giraffes

Hey!


I'm so glad it's Friday! This week has been crazy with all the snow days or snow schedules cause it snowed 7 inches in the middle of the day here.

Anyway, today we are going to learn how to make popsicle stick giraffes! I absolutely love this project and think it's really fun.


This is what you'll need:

  •  Popsicle sticks, the big kind ( plus backups)
  • Yellow and Brown Paint (or spray paint)
  •  Brown Felt
  • Sharpie
  •  Brown Pipe Cleaners
  • Rubber Bands ( strong ones!)
  • Yellow paper or foam
  • Boiling Water
  • Hot Glue
First, Get a pan full of water and put it on the stove till the water is boiling. Put a number of popsicle sticks in. Let the popsicle sticks sit for a hour or until soft. You can check if they are bendable by pulling one out and trying to gently bend them. 

Once the popsicle sticks are soft, gently bend one until it's a U shape. Be warned that some might break, hence the backups. Once it is in a U shape, rubber band the ends of the U until it stays in that shape.

Get another popsicle stick and bend this into a candy cane position, with the curved end gently sticking out ( see pics above for a visual) Rubber band this also until the shape stays.

Leave the rubber banded popsicle sticks overnight to dry. If you unwind them and they start to go back to original shape, just rubber band them again and let them sit for a few more hours.

Once the popsicle sticks are dry, paint them or spray paint them yellow. Once the yellow coat is dry, paint various sized brown spots. Now, hot glue the candy cane popsicle to the upside-down U popsicle stick.

Now, get the brown felt and cut a rectangle piece the size of the neck. Cut small cuts in it and glue it to the neck.


We're almost done. Get the brown pipe cleaners and cut them to a safe size for the ossicones (horns). Dip a little bit in yellow paint for the right look. Hot glue them on the back of the head. Now cut out ears from the yellow foam or paper. Glue these behind the ossicones.The last thing you need to do is draw the eyes and nostrils.

Yay! You're done! Hoped you liked this, and be creative and make your own popsicle stick animals.

Till next time...

Adiós