
Welcome~
Sorry I have been gone soooooooo long! I had all these tests, then I got addicted to DrawQuest, and.....well, yah. Now, enough with the excuses. Let's craft!
Sorry I have been gone soooooooo long! I had all these tests, then I got addicted to DrawQuest, and.....well, yah. Now, enough with the excuses. Let's craft!
Today we shall learn to make a dream jar.


This is what you'll need:
- Glitter spray
- Keys (Tiny Ones)
- Metallic Spray Paint
- Ribbon of your choice
- Hot Glue, modge podge, and regular glue
- Glitter of your choice
- A Jar!
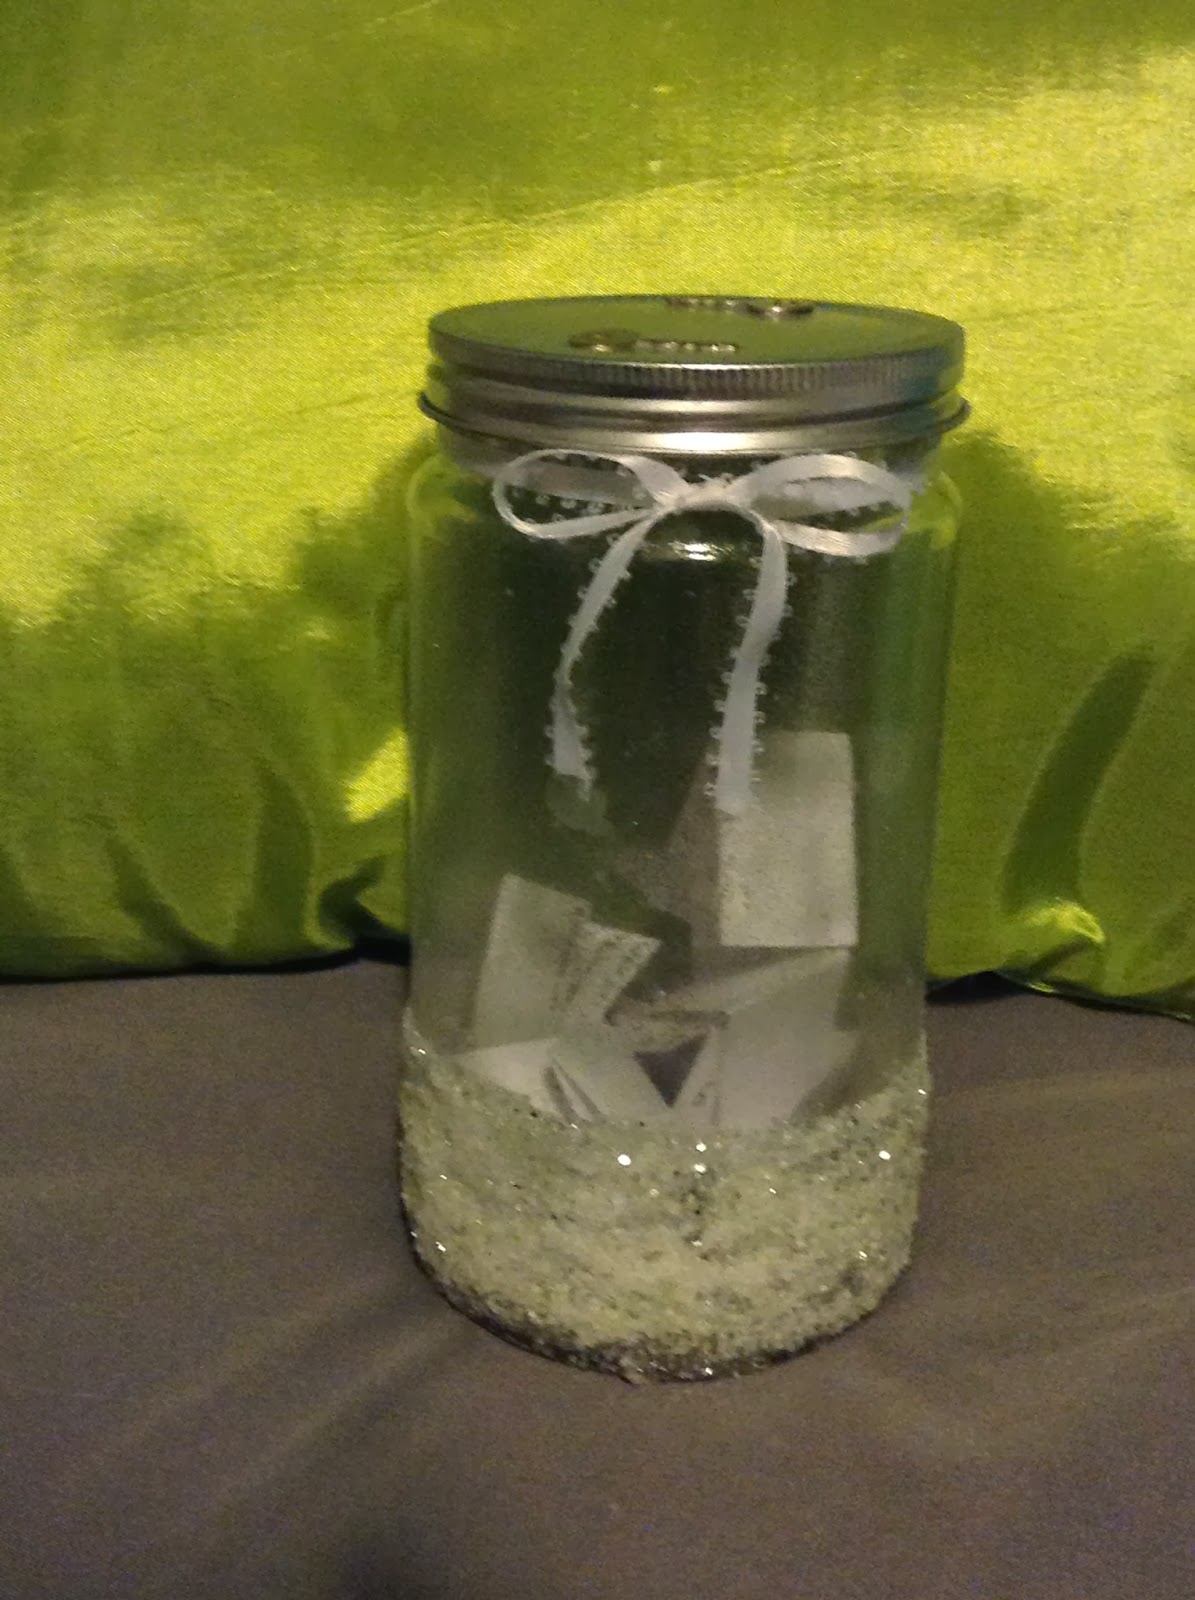
First, take your jar (without the lid) and glitter spray it on the inside and outside in an even coat. Don't forget to lay out some cardboard so your furniture won't become glittery! (Trust me, it's not as glamorous as it might seem)
Now, at the bottom of the jar, make a mark around the jar with a marker where you want your glitter to be. Once that is done, use regular glue to cover every inch of space below and on the mark line. (see first pic if still confused) Now, sprinkle the glitter on the glue. Repeat as necessary. Use the modge podge on the glitter once the glue is dry. The modge podge will make sure glitter won't sprinkle down and make a mess later on.
Now, take the lid and glue your keys on it with the hot glue. Once that is dry, you are free to spray paint the lid, making sure the keys are sprayed too.
The last step is here!! Take the ribbon and tie it into a bow on the jar, also making sure the ribbon won't get in the way of taking off the lid. Glue the bow if necessary.
You can use the dream jars to put your (duh) dreams in it! Just make sure the jar is in a secret place...like where you keep your secret stash of candy!
Goodbye, All!
And I solemnly swear I’ll blog more often
No comments:
Post a Comment